Excel Add-In
Excel is a widely-used spreadsheet software typically for data entry, storage, accounting and analysis. It provides multiple built-in functions for data processing, as well as charts for data visualization. Additionally, Excel provides Sort & Filter and PivoTables for efficient data analysis.
However, Excel falls short when dealing with large data sets and in-depth data mining. To address this, DolphinDB provides an Excel Add-In that allows users to leverage its powerful computation capabilities for more efficient data processing, analysis and visualization while working in Excel.
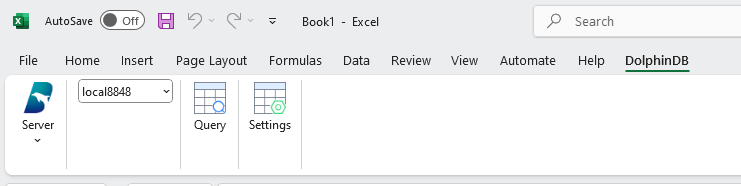
The image below displays DolphinDB Excel Add-In interface.
1. Install DolphinDB Excel Add-In
Install DolphinDB Excel Add-In:
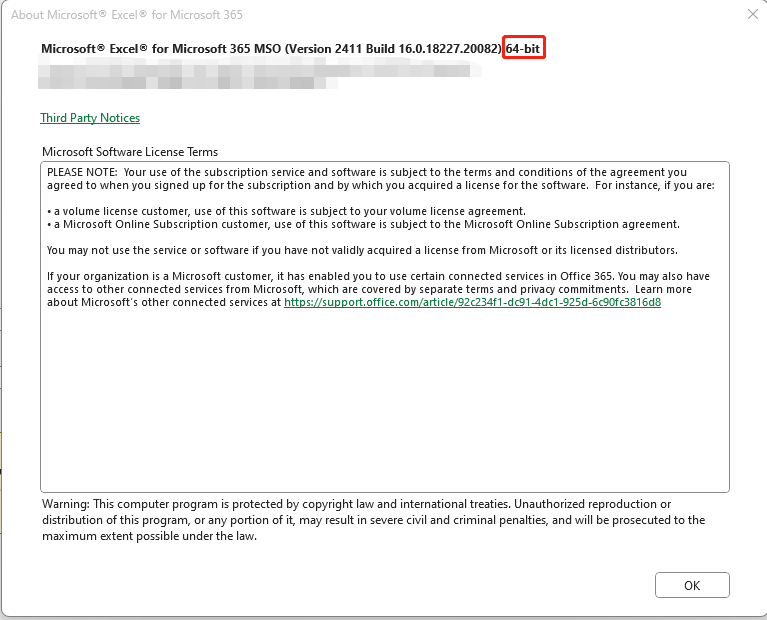
(1) Choose the appropriate version:
- DolphinDBExcel-AddIn-packed.xll for 32-bit version of Excel
- DolphinDBExcel-AddIn64-packed.xll for 64-bit version of Excel

(2)Click File > Options > Add-ins.
(3)Select Excel Add-ins and then click Go.
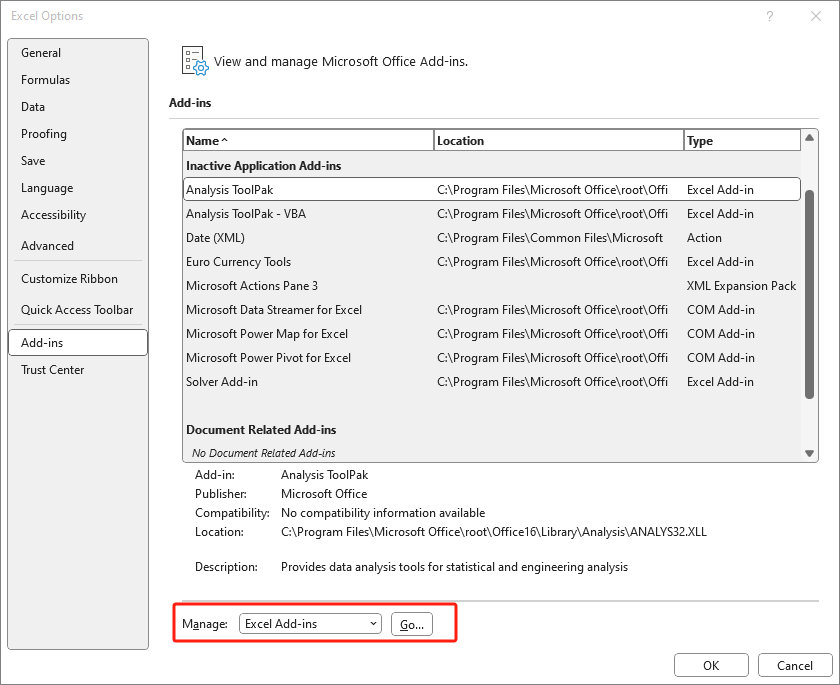
(4)Click Browse and select DolphinDBExcel-AddIn64-packed.xll (or DolphinDBExcel-AddIn-packed.xll for 32-bit version).

(5)The system will return to the Add-ins box. Check DolphinDBExcel Add-In.
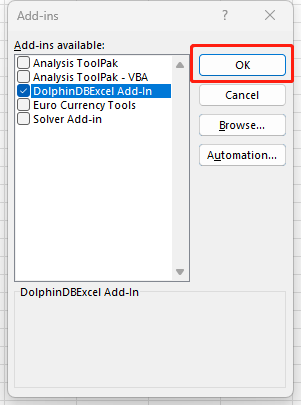
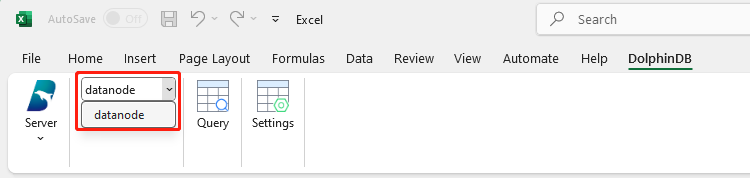
(6)DolphinDB menu bar appears in the main menu bar after successful importing.
(7)To update the Add-In:
Click File > Options > Add-ins > Go. Uncheck DolphinDBExcel Add-In and click OK.

Then repeat steps 1-6 to import the new Add-in.
2. Configuration
2.1 Configure Servers
Click Server. You can add or modify servers.
2.1.1 Add a New Server
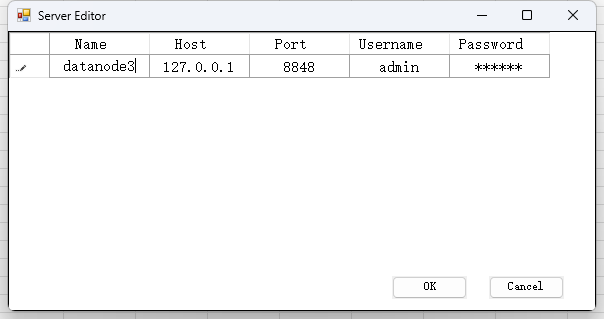
Click Add Server.
Enter the Name, Host, Port, Username and Password.

Parameters:
- Name: str, required. The distinguished name of the server to connect to.
- Host: str, required. The IP address of the server to connect to.
- Port: int, required. The port number of the server to connect to.
- Username: str, optional. The username for server login.
- Password: str, optional. The password for server login.
Click Add to confirm, or click Test first to check if the connection to the target node is successful.
Once completed, the new node will appear in the dropdown menu for switching nodes.
2.1.2 Modify Node Configuration
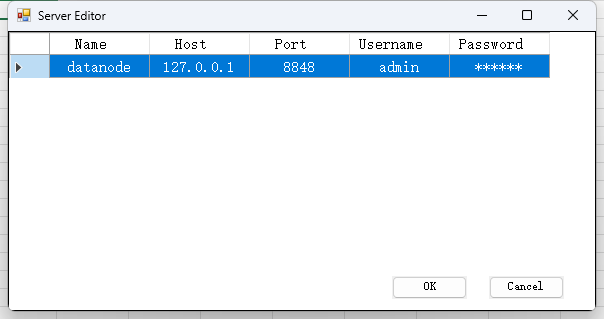
Click Edit Server to modify node configuration.
Click the cell you want to modify. Click OK to save the changes. Click Cancel to undo.
Click and select the first column of the node you want to delete. Then, press the “Delete”key on your keyboard to remove the selected row. Click OK to save the changes.
2.2 Settings
Click Settings.
You can configure the front, size and the maximum number of rows imported. It also displays the version of DolphinDB Excel Add-In.
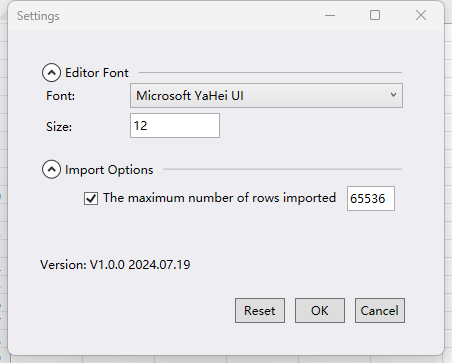
Details:
Editor Font:
- Font: Specify the font type used in the Query panel.
- Size: Specify the font size used in the Query panel.
Import Options:
- The maximum number of rows imported: Check this option if you want to limit the number of rows imported to Excel each time. Specify the row limit by the input box.
Click OK to save the changes after verification.
Click Cancel to undo the changes.
Click Reset to reset settings to default.
3. Instructions
3.1 Data Query
Click Query.
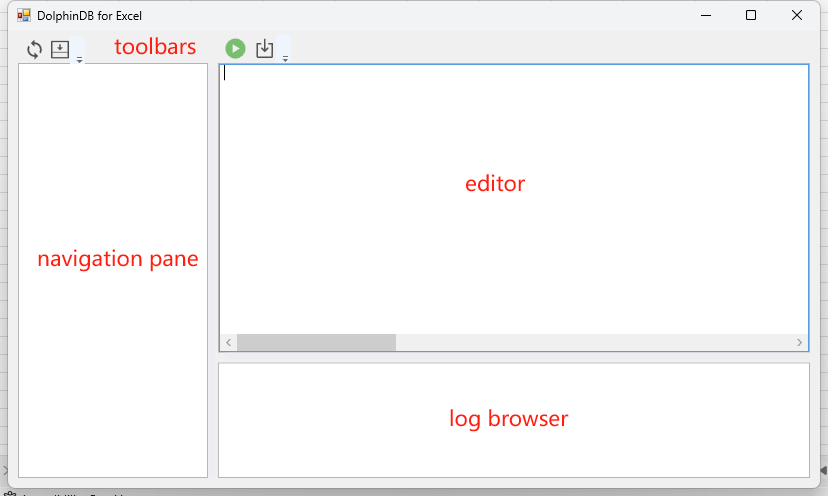
As shown below, Excel Add-In consists of a navigation pane, editor, log browser and toolbars. The toolbars at the top, from left to right, provides the following functions: refresh the navigation pane, expand/collapse variables, execute code, execute code and directly write query results to Excel.
There are two methods to import data to Excel worksheet:
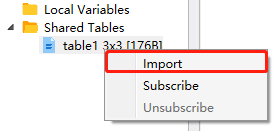
Import Directly
(1) Select the data import location in an Excel worksheet.
(2) Right-click the variable to be imported.
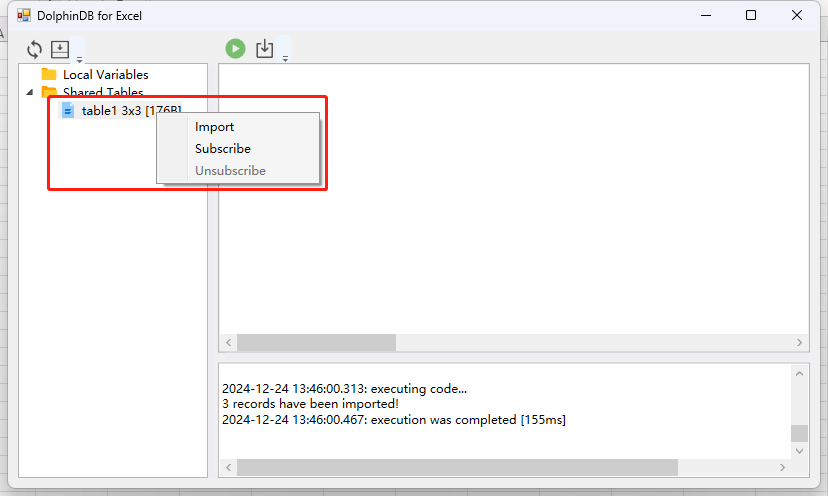
(3) Click Import.
(4) Output:
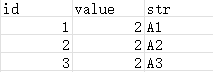
Import by Using SQL Statements
(1) Select the data import location in an Excel worksheet.
(2) Write the SQL queries.
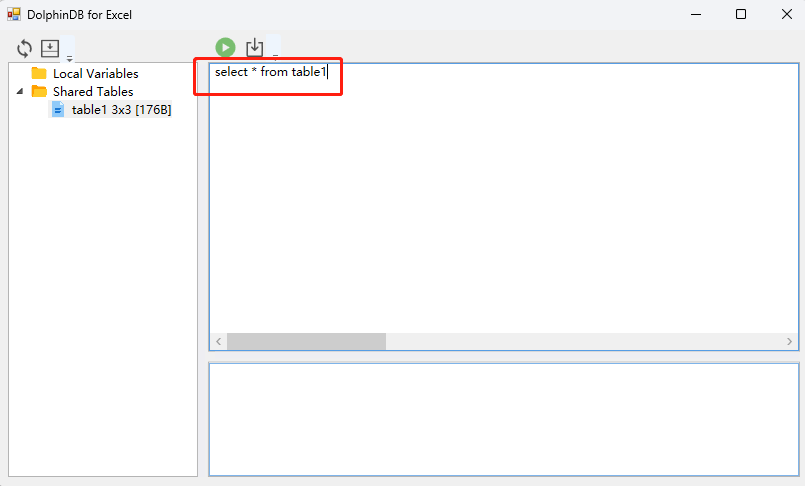
(3) Click Execute & Import.
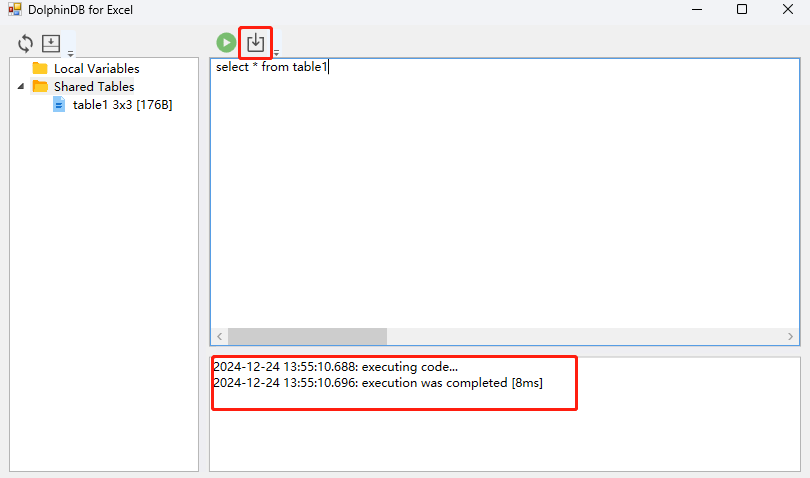
(4) Output:
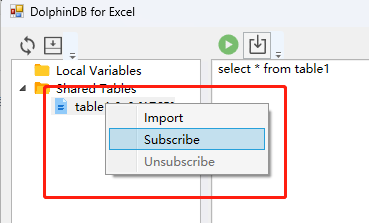
3.2 Data Subscription
(1) Select the data import location in the Excel worksheet.
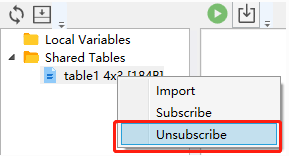
(2) Right-click the variable to be subscribed.
(3) Click Subscribe.
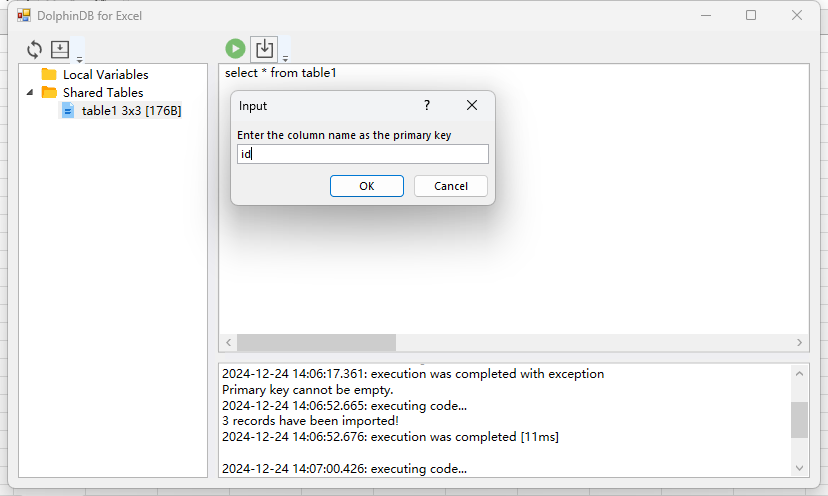
(4) Enter the primary key. Whenever new data arrives, rows with the same primary keys will be refreshed. If the primary key does not exist in the worksheet, a new row will be added. Enter “id” in this example.
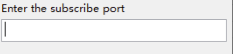
(5) If your DolphinDB version is 200.8 or earlier, enter the subscribe port.
(6) You can see the table schema in Excel after a successful subscription.

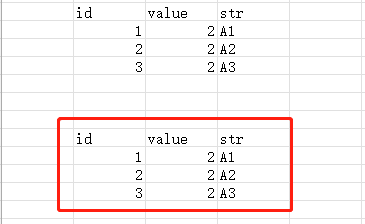
(7) When new data is added to the subscribed stream table, the data in the Excel worksheet will be updated.

(8) Click Unsubscribe to stop the subscription.
3.3 Function Call
Use the RUNFUNCTION(values1, values2,...) function to call
DolphinDB functions. This function allows you to remotely execute functions or
function views of DolphinDB and pass parameters. The results are returned to the
Excel worksheet.
Parameters:
In Excel Add-In, the parameters for RUNFUNCTION are
values1, and values2,…:
-
values1: required. Specify the function or function view name in DolphinDB. Refer to Function References.
-
values2,…: Specify the parametersof the called function.
- In Excel, data of INT type are stored as DOUBLE. Therefore, if you input
an INT parameter, it will be converted into DOUBLE. For example, if you
execute
=RUNFUNCTION("funcTest", 2in Excel Add-In, the system will executefuncTest(2.0$DOUBLE)in DolphinDB. - Differences in keystrokes when executing RUNFUNCTION across Excel
versions:
- Latest version of Excel (64-bit): Use Shift+Enter or Enter to execute the function. The result will automatically spill into multiple rows and/or columns. If Shift+Ctrl+Enter is used, the result will not spill automatically and only a single value will be returned.
- Excel 2016: The result will not spill automatically regardless of the shortcut used. As a workaround, first select a range of cells, then press Shift+Ctrl+Enter to correctly retrieve multi-column results.
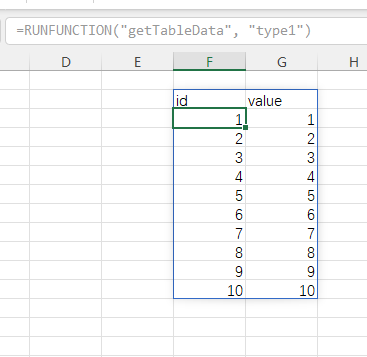
Use Case:
Define getTableData function view in DolphinDB:
def getTableData(dataType){
	if(dataType == "type1"){
		return table(1..10 as id, 1..10 as value)
	}else{
		return table(1..10 as id, 11..20 as value)
	}
}
addFunctionView(getTableData)
Select a range in Excel worksheet. Then execute function
=RUNFUNCTION("getTableData", "type1") to call the function
view.
Output: